
Stop Guessing. Start Harvesting.
Stop Guessing. Start Harvesting.
A specification-level guide for property managers, landscape contractors, and procurement teams on how to catch runoff water from balcony pots — covering system layers, sizing math, materials, installation, and what to demand in a supplier quote.
Every commercial balcony with container plantings produces runoff. Overhead irrigation, hand watering, and a single afternoon thunderstorm push water through the potting media, out the drain holes, and onto the deck surface below. If you manage a multifamily property, a hotel, a senior living community, or a rooftop restaurant, knowing how to catch runoff water from balcony pots is not a gardening chore. It is a building-envelope decision, a liability decision, and an asset-management decision rolled into one.
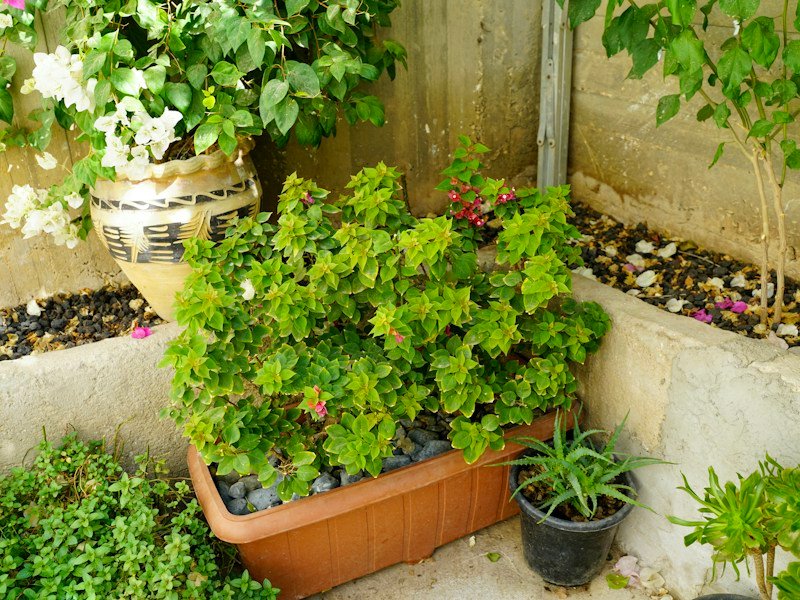
Water leaving a planter carries three things with it: dissolved fertilizer salts, fine sediment, and whatever it picks up crossing the hardscape. On a wood-framed balcony or a post-tensioned concrete slab, that water becomes staining, efflorescence, slip hazards, freeze-thaw spalling, and a steady stream of resident complaints. On a 180-unit property with stacked balconies, it becomes a maintenance ticket that never fully closes. Renter Friendly Balcony Vegetable Garden: The Complete 2025 Sourcing and Setup Guide
This guide is written for the people who buy, specify, and maintain these systems at scale — property managers, landscape contractors, procurement teams, and facility engineers. It covers what catchment actually means, how the components work together, how to size and install a system across a portfolio, and what to scrutinize in a supplier quote before you sign it.
Catching runoff water from balcony pots is the practice of intercepting water that drains out of container-grown plants and routing it into a controlled path — a tray, a reservoir, a channel, or a drainage line — instead of allowing it to spill across the balcony deck.
In a single-family setting this is often just a saucer under a pot. In commercial and multi-unit applications, it is a structured assembly with four functional layers that have to work together. If any one layer is missing or undersized, the system fails at the worst possible moment.
Capture happens at the container itself. Options include individual snap-on drip trays, self-watering reservoir inserts, liner pans that hold three to six pots, and full-deck containment membranes. The right choice depends on pot diameter, planting density, wind exposure, and whether the balcony is a private resident space or a common area under a dedicated irrigation zone. Capture components take the most abuse and carry the shortest service life, so material quality here drives your replacement budget more than anything else in the assembly.
Once water is captured, it has to move. On a balcony, gravity is almost always the mechanism — you rarely have a floor drain within reach, and you cannot depend on a deck slope that would satisfy a plumbing inspector. Conveyance components include flexible polyethylene or vinyl tubing, rigid channel drains, weep hoses, and low-profile manifolds that combine multiple trays into a single discharge point. Keep runs short, keep them pitched, and keep them inspectable. Every inch of hidden tubing that cannot be serviced becomes a future clog and a future callback.
Captured water either gets stored for reuse or discharged to a legal point. Storage ranges from a concealed 3-gallon reservoir behind a planter to a 30-gallon slim-line tank tucked against a wall. Reuse is typically gravity-fed back to the container through a wicking mat or a short drip line. Discharge means routing water to a deck drain, scupper, or downspout — never over the edge and never onto a balcony below. On properties in Arizona and Texas, water reuse provisions are comparatively favorable; in other jurisdictions, greywater handling is tightly restricted, so confirm the discharge path with the local authority before you order hardware.
This is the layer that separates a system that works from one that creates new problems. Every catchment assembly will eventually overflow — during a storm, a stuck valve, or a clogged strainer. The overflow path must be engineered to fail away from the building envelope and away from the unit below. In US climate zones 5 and colder, residual water in trays and tubing freezes, expands, and cracks components; drain-down provisions, freeze-rated seals, and silicone (not commodity PVC) components are not optional upgrades. How to Grow Sweet Bell Peppers in Pots: A Commercial Grower's Guide
Three drivers push catchment from nice-to-have to specified scope in a capital plan:
| System Type | Typical Capacity | Best For | Primary Materials | Relative Unit Cost | Recommended Service Interval |
|---|---|---|---|---|---|
| Snap-on drip tray | 1 to 3 quarts | Single pots on private resident balconies | UV-stabilized polypropylene | $ | Rinse quarterly; replace every 5 to 7 years in high-UV markets |
| Self-watering reservoir insert | 0.5 to 2 gallons | Consistently watered statement planters and lobby containers | HDPE body with wicking mat | $$ | Clean media and wick annually; inspect seal each spring |
| Multi-pot liner pan | 2 to 8 gallons | Groupings of 3 to 6 containers in common areas | HDPE, ABS, or 304 stainless | $$ to $$$ | Full inspection semiannually; verify overflow path each visit |
| Modular deck catchment tile system | 0.3 to 1.5 gallons per tile | Full balcony decks, rooftop terraces, high wind sites | Polypropylene tile with EPDM underlayment | $$$ | Annual deck inspection; replace cracked tiles individually |
| Fabricated liner with channel drain | 10 to 50+ gallons | Restaurants, hotels, and any food-adjacent or high-wind installation | 304 or 316 stainless, TPO membrane | $$$$ | Quarterly inspection plus pre-freeze drain-down and cleanout access check |
Start with measurements, not with a catalog. Walk every balcony type in the portfolio and record the following: usable deck depth, parapet height, pot count and rim diameter, media type, irrigation method, and the location of any existing drain or scupper. Load matters more than most buyers expect. Saturated container media runs roughly 70 to 90 pounds per cubic foot, and a balcony rated at 40 to 60 psf live load can be pushed hard by a dense row of large planters combined with standing water in trays. Document how the deck actually slopes — most residential balconies are built with a slope toward a scupper, but that slope is usually too shallow and too inconsistently finished to move planter runoff on its own. Finally, read the association documents or design guidelines. Many condominium declarations prohibit attaching anything to railings or fascia, which eliminates a whole class of mounting hardware before you ever request a quote.
Sizing is arithmetic, and it is where most retrofit projects go wrong. Work from two numbers: irrigation volume and rainfall volume.
For irrigation, potting media holds roughly 25 to 35 percent of its volume in plant-available water before it begins draining freely. A 5-gallon container watered with one gallon of water that is already near field capacity will push 30 to 50 percent of that gallon out the drain holes — call it 0.3 to 0.5 gallons per watering cycle. Multiply by the number of containers on a single balcony and by the number of cycles per day on the irrigation clock.
For rainfall, use the top opening of the container as the collection area. A 16-inch pot presents about 1.4 square feet of surface. A 2-inch-per-hour storm therefore delivers roughly 0.15 gallons per hour into that one pot, and a 12-pot grouping delivers about 1.8 gallons per hour directly to the deck if nothing intercepts it.
Then size the components: tray or reservoir capacity at 1.25 times the calculated peak event, and overflow capacity at twice the calculated peak. Undersizing the overflow is the single most common defect we see in field-installed systems, and it is always discovered during a storm rather than during commissioning.
Material selection should follow the climate, not the price sheet alone. How to Transplant Grow Bag Veggies: A Commercial Grower's Field Guide
Also confirm wind uplift ratings. Rooftop and upper-floor balconies experience uplift that a ground-level planter never sees, and unsecured trays become projectiles. Look for mechanical fastening points or ballast provisions in the manufacturer’s published data, not in a sales conversation.
Installation quality decides whether the system lasts five years or fifteen. Follow these field rules:
Commissioning is a fill test, a leak test, and a photograph of every concealed run. Label each tubing line and reservoir. Hand the property manager a one-page schematic showing where water enters, where it travels, and where it discharges — the next maintenance technician will not have your installer on speed dial.
Then set a real maintenance cadence: strainers cleared monthly during the growing season, full inspection quarterly, drain-down and winterization before the first hard freeze in cold zones, and tray replacement on a five- to seven-year cycle in high-UV markets. Tray replacement sounds wasteful until you compare it with a single water-damage claim.
The property carried 1,800 containers across stacked balconies and had logged two slip-and-fall claims plus persistent staining on the terrace level over a three-year period. The irrigation contractor was watering on a fixed schedule regardless of rainfall, which meant most units were draining freely two or three times a week.
The scope we specified was deliberately simple: 1,800 snap-in UV-stabilized drip trays rated for a 20-inch rim, 24 channel drain runs, and a photo-documented maintenance manual. Material and labor landed near $38,000 across the portfolio, or roughly $21 per container. How to Repel Aphids Naturally in a Balcony Garden: A B2B Sourcing and Merchandising Guide
Fourteen months later, overflow complaints had dropped to zero, recoating cycles on the terrace level were extended by an estimated eighteen months, and reintroducing captured water through wicking mats reduced irrigation demand by about 18 percent. That translated to roughly $9,000 per year in deferred recoating and water cost, before counting the liability exposure that never materialized. The simple version paid back in under four years; a more elaborate stainless system would have pushed payback past ten. Match the system to the risk, not to the brochure.
Eighty-four planters on an exposed rooftop terrace were breaking trays every winter. The cause was straightforward: standing water in reservoir trays froze, expanded, and split the tray walls. The fix was a 304 stainless liner pan with freeze-rated silicone seals, a slight drain-down pitch, and a quarter-turn drain valve on each pan that housekeeping opens before the first frost advisory.
The capital cost was roughly three times the polypropylene alternative, and the property has recorded zero tray failures across two winters. For a hotel with guest-facing terraces, that trade is usually correct — a cracked tray visible to guests costs more in reputation than the upgrade costs in steel.
A rooftop restaurant growing culinary herbs needed 316 stainless liner pans with four-inch channel drains routed toward the existing grease-handling path. The decisive factor was not drainage performance but inspection: 304 stainless and food-adjacent planters invited questions during health inspections, while a documented 316 specification with cleanout access closed the topic permanently. The buyer’s lesson is worth repeating — in food service, specify for the inspector as well as the plant.
When you issue the request for quote, be explicit about the items that separate a commodity vendor from a supplier who can support a portfolio:
Also decide early whether you are buying multi-source commodity trays or a single-source engineered assembly. Multi-source saves on unit price and costs you in interchangeability. Single-source costs more per piece and saves you in commissioning time, replacement accuracy, and warranty administration. On portfolios above roughly 500 containers, single-source usually wins on total cost of ownership.
None of these mistakes are exotic. All of them are avoidable with a written specification, a commissioning checklist, and a maintenance schedule that someone actually owns. Balcony Garden Automation Tutorial: A Step-by-Step Build Guide for US Growers