
Stop Guessing. Start Harvesting.
Stop Guessing. Start Harvesting.
Discover how to transform a tiny courtyard into a lush, edible food forest using video lessons. From soil prep to planting layers, this guide walks you through every step with real-world examples and practical tips.
I’ll never forget the first time I walked into my neighbor’s courtyard. It was no bigger than a two-car garage—maybe 20 by 20 feet—but it felt like stepping into a secret jungle. There were figs hanging overhead, kale sprouting from the shadows, and herbs creeping along the edges. She called it her food forest, and I was hooked. That day, I realized you don’t need acres of land to grow your own ecosystem. You just need a little know-how and the willingness to learn. That’s why I put together this guide: to help you learn how to turn your small courtyard into a food forest with video lessons. Whether you’ve got a concrete slab, a patch of dirt, or a few pots, this approach works. And the best part? You don’t have to figure it out alone. Video lessons break down every step, from design to harvest, so you can see exactly what to do.
In this article, I’ll share the exact process I’ve used and taught to dozens of homeowners. We’ll cover what a food forest really is, five clear steps to build yours, real examples from people who’ve done it, and a comparison of different methods. By the end, you’ll have a roadmap to turn your courtyard into a self-sustaining food source. Let’s dig in.
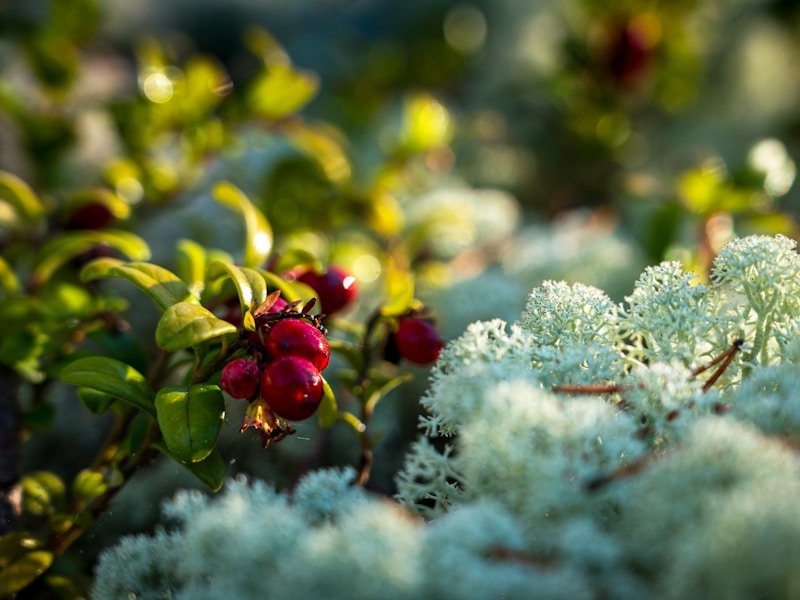
A small courtyard food forest is exactly what it sounds like: a mini ecosystem designed to produce food, medicine, and beauty in a compact outdoor space. Think of it as a garden that mimics a natural forest, but instead of trees you can’t eat, you plant fruit trees, berry bushes, perennial vegetables, and herbs—all stacked in layers. The idea comes from permaculture, a design system that works with nature, not against it.
In a typical food forest, you have seven layers: canopy (tall trees), understory (smaller trees), shrubs, herbaceous plants, ground cover, vines, and root crops. In a small courtyard, you might only have room for three or four layers, but that’s plenty. For example, a dwarf apple tree as the canopy, blueberry bushes as the shrub layer, and strawberries as ground cover. Everything works together—the trees provide shade, the shrubs hold moisture, and the ground cover suppresses weeds. It’s a closed-loop system where waste from one plant feeds another.
Video lessons are a game-changer here because you can watch exactly how to space plants, prune branches, and build soil. I remember watching a video on guild planting—where you group plants that help each other—and it clicked instantly. Seeing someone dig a hole, add compost, and place a comfrey plant next to a fruit tree made all the difference. That’s why I recommend starting with video lessons. They turn theory into action.
Ready to get your hands dirty? Here are five ordered steps to transform your courtyard. Each step is designed to be followed along with video lessons, which I’ll reference throughout. Take it one step at a time—your food forest won’t grow overnight, but it will grow.
Let me tell you about a few people I’ve worked with. First, there’s Maria, who lives in a Phoenix townhouse with a 15×15-foot concrete courtyard. She thought she couldn’t grow anything. We started with video lessons on container food forests. She planted a dwarf citrus tree in a half-barrel, blueberries in pots, and mint in hanging baskets. She watched a video on vertical gardening and added a trellis for grapes. In her first year, she harvested 30 lemons and a bucket of blueberries. “I never thought I’d have fresh fruit in the desert,” she said. Her secret? She followed video lessons on watering deeply and mulching with straw to retain moisture.
Another example is Tom, a retiree in Portland with a 20×20 dirt courtyard. He wanted to reduce his grocery bill. He watched a series of video lessons on food forest design and planted a dwarf apple tree, two currant bushes, a patch of kale, and strawberries. He added a small pond to attract beneficial insects. In year two, he harvested 50 pounds of apples and enough kale to freeze for winter. He told me, “The videos taught me to thin the apples so they’d grow bigger—I’d never have known that.” Tom’s courtyard now produces 80% of his vegetables from May to October.
Then there’s my own story. My first courtyard was 12×12 feet in a rental. I had no experience. I followed a video course on building a no-dig food forest. I planted a dwarf plum tree, gooseberries, chard, and nasturtiums. The first year was slow—just a few berries. But by year three, I was giving away plums. The video lessons on pruning and mulching made all the difference. I learned to cut back the gooseberries in winter, which doubled my harvest. My courtyard became a mini oasis, and I spent less than $200 on plants and soil.
These stories prove that size doesn’t matter. With video lessons, you can adapt any space. The key is to start small and learn as you go. Every mistake—like planting too close or forgetting to water—is a lesson. And videos help you avoid them.
[TABLE_SECTION]
[FAQ_SECTION]
Turning a small courtyard into a food forest isn’t a dream reserved for people with land. It’s a practical, doable project that anyone can tackle with the right guidance. I’ve seen it happen in concrete slabs, tiny balconies, and cramped backyards. The secret is to learn from those who’ve done it—and video lessons are the best way to see every step in action. From assessing your sunlight to pruning your first harvest, each video builds your confidence. You don’t need to be an expert; you just need to start.
So here’s my call to action: pick one step from the list above. Watch a video lesson on assessing sunlight or building a plant guild. Then go outside and measure your courtyard. Draw a rough design. Order a dwarf tree or some seeds. The first step is always the hardest, but it’s also the most rewarding. I’d love to hear about your journey—drop a comment below and tell me what you’re planting. Share your photos, your questions, your wins. Let’s build a community of small-space food foresters, one courtyard at a time.
Best Balcony Vegetables for Beginners: The Ultimate Container Guide
| Method | Cost | Space Needed | Time to First Harvest | Maintenance Level | Best For |
|---|---|---|---|---|---|
| Container Food Forest | $100-$300 | 50-100 sq ft | 3-6 months | Medium | Concrete courtyards, rentals |
| In-Ground Food Forest | $50-$200 | 100-400 sq ft | 6-12 months | Low | Dirt courtyards, permanent homes |
| Vertical Food Forest | $75-$250 | 25-100 sq ft | 2-4 months | High | Tiny spaces, balconies |
| Raised Bed Food Forest | $150-$400 | 50-200 sq ft | 3-6 months | Medium | Mixed surfaces, beginners |
Learn How to Turn Your Small Courtyard into a Food Forest with Video Lessons
The Ultimate Video Guide to Growing Backyard Vegetables: From Seed to Harvest



