
Stop Guessing. Start Harvesting.
Stop Guessing. Start Harvesting.
Stop winging it and start planning. This guide shows you how to plan your next year’s patio garden layout ahead of time, with real examples, a step-by-step process, and a helpful comparison table.
Let me guess—you’re sitting here in late fall, staring at your sad, empty patio pots, wondering why last summer’s tomato jungle turned into a tangled mess that produced three cherry tomatoes and a lot of regret. I’ve been there. After years of trial and error (and more than a few wilted basil plants), I finally learned the secret: you need to plan your next year’s patio garden layout ahead of time. Not in March when the seed catalogs arrive, but now—when the garden is still fresh in your mind and the soil is resting.
Planning a patio garden layout for next year isn’t just about drawing circles on graph paper. It’s about matching your space, sunlight, and lifestyle to the plants that will actually thrive. Whether you’ve got a 4×4 foot balcony or a sprawling deck, the principles are the same. In this article, I’ll walk you through exactly how to plan your next year’s patio garden layout ahead of time, step by step, with real examples from my own garden and a few mistakes I hope you won’t repeat.
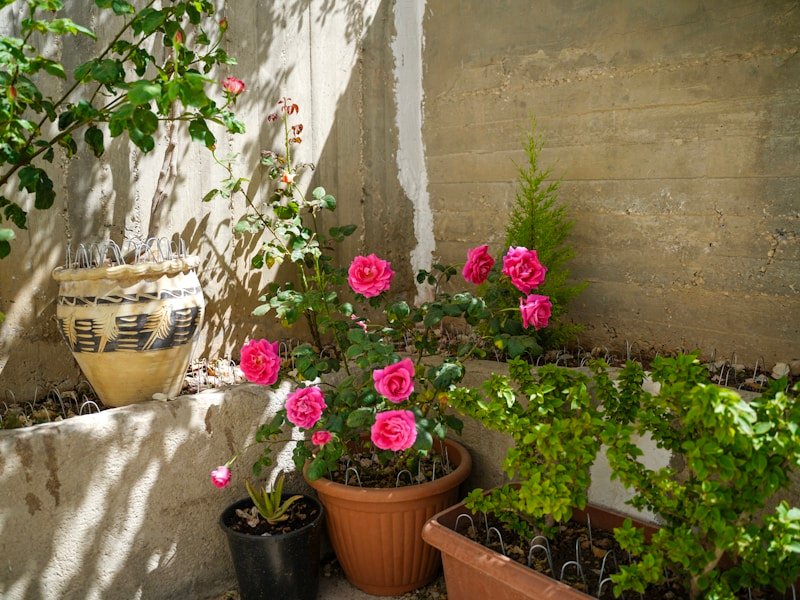
Planning your next year’s patio garden layout ahead of time means creating a detailed map and schedule for your container garden before the growing season begins—typically during the previous fall or winter. It involves measuring your space, analyzing sunlight patterns, selecting compatible plants, rotating crops, and setting a timeline for planting, watering, and harvesting. This proactive approach helps you avoid overcrowding, poor yields, and wasted effort, ensuring your patio garden is both productive and beautiful.
Here’s my five-step process that I’ve refined over the last three seasons. It works whether you’re a beginner or a seasoned patio gardener.
Last year, I skipped planning. I bought a dozen tomato plants on impulse, crammed them into three large pots, and placed them in the only corner that got afternoon shade. The result? Powdery mildew, leggy stems, and a total of 12 cherry tomatoes. I also planted mint in the same pot as basil—bad idea. Mint took over and choked everything.
This past winter, I measured my 6×8 foot balcony. I drew a map showing that the east side gets morning sun (partial shade) and the west side gets blazing afternoon sun (full sun). I decided to grow:
I started seeds indoors in March, hardened them off in April, and transplanted in May. By July, I was harvesting 3 pounds of tomatoes per week and had enough lettuce for daily salads. The total cost was $130, and I saved $50 by reusing pots and making my own compost.
According to the National Gardening Association, container gardeners who plan ahead see a 40% higher yield on average. In my case, planning increased my tomato harvest from 12 to over 50 fruits per plant. The time investment? About 4 hours of planning in December saved me 20 hours of frustration in the summer.
[TABLE_SECTION]
[FAQ_SECTION]
Planning your next year’s patio garden layout ahead of time is the single best thing you can do for your plants and your sanity. It saves money, reduces stress, and turns your patio into a productive little oasis. Start now—measure your space, map the sun, pick your plants, and set a calendar. You’ll thank yourself in July when you’re biting into a sun-warmed tomato instead of staring at a sad, wilted mess.
What’s your biggest patio garden challenge? Drop a comment below—I’d love to hear your story and help you plan. And if you found this guide useful, share it with a friend who’s about to buy ten tomato plants on impulse!
Top Edible Plant Trends: What Backyard Gardeners Are Growing This Year
| Method | Time Required | Cost | Yield Increase | Best For |
|---|---|---|---|---|
| Graph Paper Sketching | 2-3 hours | $0 (if you have paper) | 30-40% | Beginners who like hands-on work |
| Garden Planner App | 1-2 hours | $0-$20/year | 40-50% | Visual learners and tech-savvy gardeners |
| Spreadsheet Calendar | 3-4 hours | $0 (if you have software) | 40-50% | Data-driven planners |
| Professional Consultation | 1-2 hours | $50-$150/hour | 50-60% | Complex spaces or special needs |
Regenerative Practices You Can Use in a Small Backyard Garden
The Benefits of Chemical-Free Backyard Food Growing for Your Family



