
Stop Guessing. Start Harvesting.
Stop Guessing. Start Harvesting.
This guide covers the essentials of selecting, installing, and maintaining a drip irrigation system for balcony gardens, with real-world case studies and a product comparison.
Balcony gardens are no longer just a hobby; they are a strategic asset for commercial ventures like restaurants, hotels, and urban farming startups. But managing water efficiently in a compact, elevated space is a challenge. A drip irrigation system for balcony garden delivers water directly to plant roots, reducing evaporation, runoff, and labor costs. In this guide, we’ll walk through the technology, selection criteria, installation steps, and maintenance practices that turn a simple balcony into a high-yield, low-maintenance growing environment.
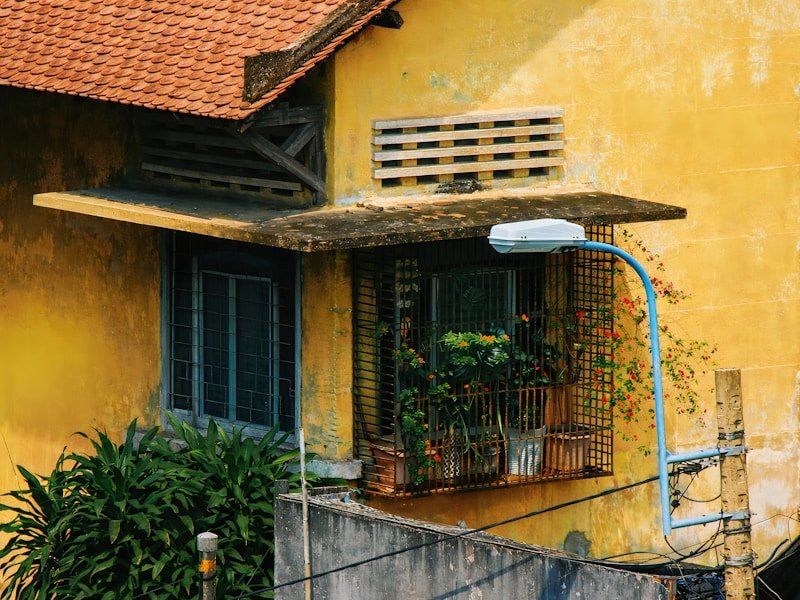
Whether you’re outfitting a rooftop restaurant’s herb garden or a residential tower’s amenity deck, the right drip system pays for itself in less than a season. We’ve consulted with facility managers and landscape contractors to provide the actionable insights you need. Balcony Vegetable Garden Watering Schedule: A B2B Guide to Efficient Irrigation
A drip irrigation system is a method of watering plants by delivering slow, steady drips of water directly to the soil surface or root zone through a network of tubes, emitters, and valves. For balcony gardens, these systems are typically designed to operate on low water pressure (city water pressure) and are sized to fit confined spaces.
The core components include: a control valve (manual or automatic), a pressure regulator, a filter, supply tubing (often 1/2-inch or 1/4-inch), and drip emitters or micro-sprayers. The system can be installed as a permanent fixture or as a retrofit kit.
Balcony-specific advantages include water conservation (up to 60% less water compared to hand watering), reduced leaf wetting that prevents fungal diseases, and the ability to integrate timers for fully autonomous operation—critical for businesses that need consistent quality.
Begin by measuring the growing area, the number of planters, and the distance to the nearest faucet. Identify the available water pressure (typically 40-60 psi for city supply) and if you have low pressure below 20 psi, you’ll need a gravity-fed or pump-assisted system. Map out where you can run tubing without creating tripping hazards or blocking foot traffic.
Choos pressure-compensating emitters to ensure uniform water delivery across an uneven balcony floor, especially if you have slight slopes. For balconies, a drip line with built-in emitters ( soaker hose) is easy to conceal but offers less control. If you have a variety of plant types—herbs, vegetables, ornamental—use individual emitters with adjustable flow rates (0.5, 1, or 2 gallons per hour). Always opt for UV-stabilized tubing to handle sun exposure. Potted Cucumber Vertical Trellis Masterclass: Maximize Commercial Yields
Divide the balcony into zones based on sun exposure and plant water needs. For example, shade-loving ferns need less water than sun-stressed tomatoes. Install a battery-powered or smart controller that can run up to 10 zones, with a rain sensor to avoid overwatering. Set the watering to early morning (4-6 a.m.) to minimize evaporation and wind drift.
Connect the backflow preventer and filter to the faucet, then run the mainline along the perimeter of the balcony, securing it with clips. Use a pressure regulator if your system pressure exceeds the manufacturer’s recommendation. For each planter, insert a 1/4-inch distribution tube with a stake emitter. Test the system by running water for a few minutes to check for leaks and ensure even distribution. If you’re retrofitting an existing planter, lift the top layer of soil and place the tubing below mulch—this enhances efficiency.
Weekly: check emitters for clogging, clean the filter, and inspect tubing for cracks or rodent damage. Monthly: run a flushing cycle by opening the end caps to clear sediment. Seasonally: replace the batteries in the timer and store the system in a dark, dry place during winter if you don’t have freeze protection. In freezing climates, blow out the lines with compressed air before the first frost to prevent splitting.
Let’s look at a 500-square-foot balcony garden at a boutique hotel in San Diego, California. The garden grows fresh herbs (basil, mint, rosemary) and microgreens used by the hotel’s kitchen. Before the installation, staff watered twice daily by hand, using about 40 gallons a day and losing 15% of crops to dry spells and overwatering.
We designed a drip system with four zones: one for high-sun herbs, one for shallow-rooted greens, one for potted citrus trees, and a utility zone. We installed a smart controller that adjusted watering based on weather forecasts. The cost of equipment including labor was $1,200. Over the first year, water consumption dropped to 12 gallons a day—a 70% reduction—and crop yield increased by 30% because plants received consistent moisture. The system paid for itself in eight months through reduced labor (staff no longer water) and increased harvest value.
Another example comes from a high-rise residential building in Chicago. They installed a drip system on a 1,200-foot terrace with 60 containers, using pressure-compensating emitters and a remote monitoring system. The facility manager can now adjust settings from their tablet, and the garden produces annual savings of $3,500 in landscape maintenance costs while improving the building’s appeal to prospective tenants. How Often to Water Potted Vegetables: The Complete Commercial Guide
| Attribute | Raindrip R675CT | Orbit 69525 | DripWorks Pro Kit |
|---|---|---|---|
| Coverage | Up to 100 sq ft | Up to 150 sq ft | Up to 250 sq ft |
| Included Emitters | 30 adjustable drippers | 50 pressure-compensating drippers | 80 pressure-compensating drippers |
| Controller | Manual only | Battery-operated timer included | Digital timer included |
| Pressure Range | 20-40 psi | 10-45 psi | 15-50 psi |
| Filter Type | Inline screen filter | Y-filter | Disc filter |
| Price Range | $45 – $60 | $70 – $90 | $120 – $145 |
| Best For | Small patios with <10 planters | Medium decks with mixed planting | Large terraces and commercial use |
Below is a comparison of three popular commercial-grade drip irrigation systems available in the U.S. market. These kits come with different components and price points, so you can choose based on your balcony size and budget.
| Attribute | Raindrip R675CT | Orbit 69525 | DripWorks Pro Kit |
|---|---|---|---|
| Coverage | Up to 100 sq ft | Up to 150 sq ft | Up to 250 sq ft |
| Included Emitters | 30 adjustable drippers | 50 pressure-compensating drippers | 80 pressure-compensating drippers |
| Controller | Manual only | Battery-operated timer included | Digital timer included |
| Pressure Range | 20-40 psi | 10-45 psi | 15-50 psi |
| Filter Type | Inline screen filter | Y-filter | Disc filter |
| Price Range | $45 – $60 | $70 – $90 | $120 – $145 |
| Best For | Small patios with <10 planters | Medium decks with mixed planting | Large terraces and commercial use |
When comparing, pay attention to the controller’s programming capability and whether emitters are pressure-compensating. For balconies with varying elevation or long runs, pressure-compensation is not optional—it ensures each plant gets the same amount of water.
We’ve compiled answers to the most common questions we receive from facility managers and property owners about implementing drip irrigation on balcony gardens.
Q: Can I use a drip irrigation system with a rain barrel on my balcony?
A: Yes, but you need a gravity-fed system designed for low pressure (below 6 psi). Use a compact drip kit that operates on 0-10 psi, and place the barrel as high as possible relative to the plants. A pump may be required if your barrel is level with the planters. Best Soil Depth for Potted Vegetables: A Commercial Grower’s Guide
Q: How often should I run the drip system for a balcony vegetable garden?
A: It depends on plant type, weather, and season. As a general rule, 30-45 minutes per day in summer and 20-30 minutes in spring/fall. Use a moisture sensor to adjust, or set the timer to water twice a day: early morning and late afternoon.
Q: Will the tubing and emitters crack in freezing temperatures?
A: Standard drip tubing is UV-resistant but not freeze-proof. If you live in a climate with freezing winters, you must drain the system completely and store above ice level. Alternatively, use a non-return valve and disconnect the water supply indoors. Many commercial systems include an auto-drain valve that releases water when pressure drops.
Q: What is the average lifespan of a well-maintained drip system? Fabric Grow Bags vs Plastic Pots for Vegetables: A Commercial Buyer's Guide
A: With proper filtration and winterization, the tubing can last 5-7 years, and emitters can last 3-5 years. Regular cleaning of the filter and emitters extends their life significantly. We recommend replacing the filter cartridge annually.




