![]()
Stop Guessing. Start Harvesting.
![]()
Stop Guessing. Start Harvesting.
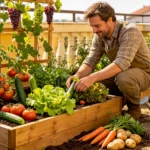
Do you want to harvest clusters of juicy, sun-ripened tomatoes right outside your door but lack an open garden plot or raised backyard bed?
Many beginner growers assume that growing large, productive tomato plants requires extensive land or expensive setups. In reality, a standard, affordable 5-gallon plastic bucket from your local hardware store is the perfect vehicle for cultivating heavy-yielding tomato plants. Growing tomatoes in buckets gives you absolute control over soil quality, simplifies pest management, and allows you to move your plants around to follow the sun.
This complete guide will show you exactly how to transform a basic utility bucket into a highly productive tomato micro-farm.
To grow tomatoes in 5-gallon buckets, drill at least four to five 1/2-inch drainage holes in the bottom of the container. Fill it with a lightweight commercial potting mix enriched with organic compost, plant a single tomato seedling deeply into the bucket, provide a sturdy stake or cage for vertical support, and water consistently whenever the top two inches of soil feel dry.
While a 5-gallon bucket is an ideal size for a tomato plant’s root system, it remains an artificial, confined environment. Standard backyard parameters do not apply inside a plastic container.
The five most common reasons bucket tomato gardens struggle include:
Follow this operational blueprint to configure your 5-gallon buckets for maximum fruit production and exceptional plant health.
Turn your bucket upside down. Using a power drill with a 1/2-inch bit, drill four to five holes evenly spaced across the bottom base. To improve drainage further and prevent stagnant water zones, drill two additional holes on the lower side walls, about an inch above the bottom rim.
Never use yard dirt or bagged “topsoil.” Plastic buckets trap moisture along their solid walls, so your soil must be highly aerated. Fill the bucket with a premium commercial potting mix containing peat moss, coco coir, and perlite. For an extra continuous boost, mix in two cups of organic worm castings or composted manure at planting time.
Tomatoes possess a unique evolutionary advantage: they can grow new roots along their entire buried stem. Remove the lower leaves from your seedling, leaving only the top cluster of foliage. Dig a deep hole and bury the plant up to those remaining top leaves. This deep planting technique forces a massive, stable root network to form quickly.

Do not wait for your tomato plant to get large before adding a support system. Push a sturdy 5-to-6-foot wooden stake or a heavy-duty tomato cage deep into the bucket all the way to the bottom right after planting. Securing the structure early ensures you won’t accidentally plunge a stake through a mature, well-developed root system later on.
Plastic containers absorb heat rapidly, causing moisture to evaporate quickly during warm weather. Check your buckets daily using the two-inch finger test, as explored in our How Often Should You Water Container Vegetables? guide. When watering, pour slowly at the base of the plant until water drains freely from the bottom holes.
Avoid these common management and positioning errors to preserve your container tomato harvest:
Using targeted, efficient accessories keeps your bucket homestead organized, stable, and simple to clean.
| Tool | Why It Helps |
| 5-Gallon Plastic Utility Buckets | Affordable, durable, and provides the perfect root volume for a single compact tomato. |
| Soft Velcro Plant Ties | Secures heavy, fruiting branches to your central stakes without cutting into the delicate vine. |
| Organic Tomato Fertilizer (Tomato-Tone) | High-calcium organic feeding formula that helps prevent blossom end rot naturally. |
| Heavy-Duty Plant Caddies | Allows you to roll heavy 5-gallon buckets easily across patios to track optimal sunlight. |
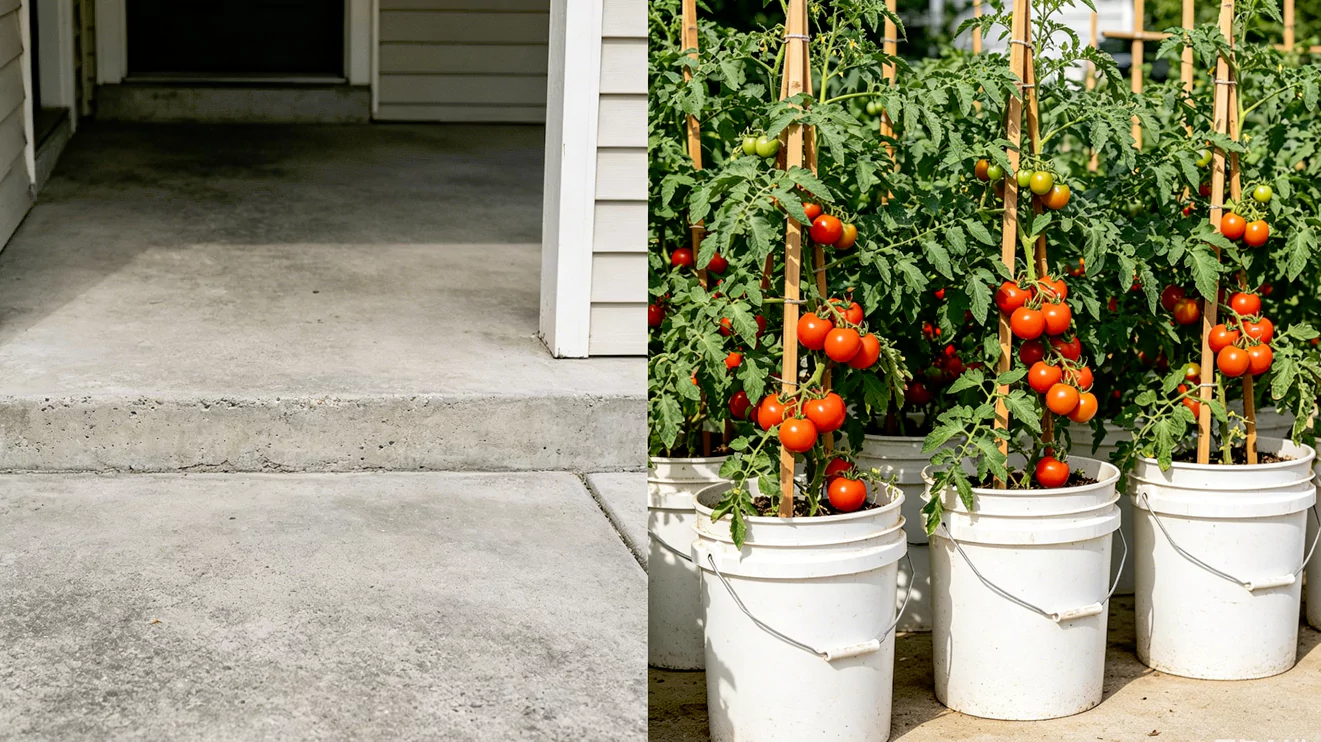
Sarah, a medical assistant living in a townhouse with a small 6×8 concrete porch, wanted to grow fresh ingredients for homemade pasta sauce but had no garden beds.
While it is technically possible, it is highly challenging for beginners. Indeterminate varieties grow continuous, sprawling vines that can easily reach 8 to 10 feet tall, quickly making a 5-gallon bucket top-heavy and prone to blowing over. For optimal success in small spaces, choose compact determinate varieties, as outlined in our Best Vegetables For Small Balconies selection list.
No, do not put a layer of gravel or rocks at the bottom of your bucket. This is an outdated gardening myth that actually hurts your plant. Gravel creates an artificial “perched water table,” raising the saturation zone higher inside the container and reducing the amount of usable soil space your tomato roots have to grow. Stick to open drainage holes and premium potting soil.
Yellowing lower leaves are usually a sign of overwatering or a nitrogen deficiency. If the soil feels constantly wet or muddy, reduce your watering frequency and check that your drainage holes aren’t clogged, a top issue highlighted in our Balcony Gardening Mistakes reference sheet. If drainage is fine, feed the plant with a mild organic liquid fertilizer.
Because frequent watering flushes vital nutrients out of container drainage holes, bucket tomatoes need regular feeding. Mix a slow-release granular organic fertilizer into your potting soil at planting time, and apply a water-soluble organic liquid fertilizer every 10 to 14 days once the plant begins flowering, as detailed in our Container Gardening Guide.
It is not recommended to reuse container tomato soil directly for tomatoes two years in a row. Tomatoes are heavy feeders and prone to soil-borne fungal diseases like blight. Empty the old soil into a separate composting bin or use it to grow low-maintenance flowers, and always fill your tomato buckets with fresh, sterile potting mix at the start of every new spring season.
Turn simple buckets into a high-yield backyard paradise. Download our free container companion blueprint and configure your bucket homestead like a seasoned expert.
Download our free resource today and receive:
[ Info@yardveggie.com ]
👉 [ DOWNLOAD YOUR FREE STARTER KIT NOW ]
If you want to bypass the frustrating trial-and-error cycle and discover the exact visual systems used to plan, plant, and maintain high-yielding container vegetable gardens, take a look at our structured video series. Our comprehensive Balcony Harvest Masterclass offers an interactive, step-by-step roadmap built specifically for small-footprint living.
Skip the guesswork with high-definition, practical tutorials covering:
[ Learn More About The Masterclass → ]