![]()
Stop Guessing. Start Harvesting.
![]()
Stop Guessing. Start Harvesting.
Do you want to harvest premium, nutrient-dense vegetables right outside your door but find that store-bought potting soil is either too expensive or packed down like solid clay?
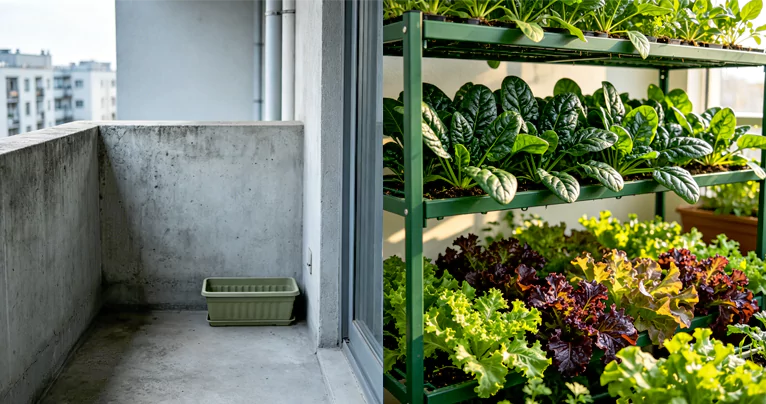
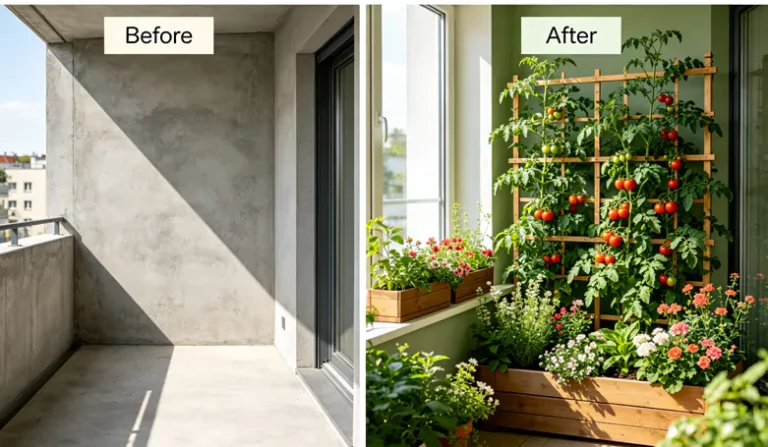
Building an edible container garden on an elevated balcony or patio gives you a massive natural advantage: it completely insulates your food from ground-level yard pests like moles, gophers, and destructive soil-borne nematodes. However, because container roots are isolated within a fixed volume of space, you cannot use heavy yard dirt. To get massive seasonal yields, you must engineer a lightweight, porous potting medium that provides continuous structural aeration and balanced biological fertility.
This guide will walk you through 5 DIY organic soil recipes specifically formulated for high-production container vegetable gardening.
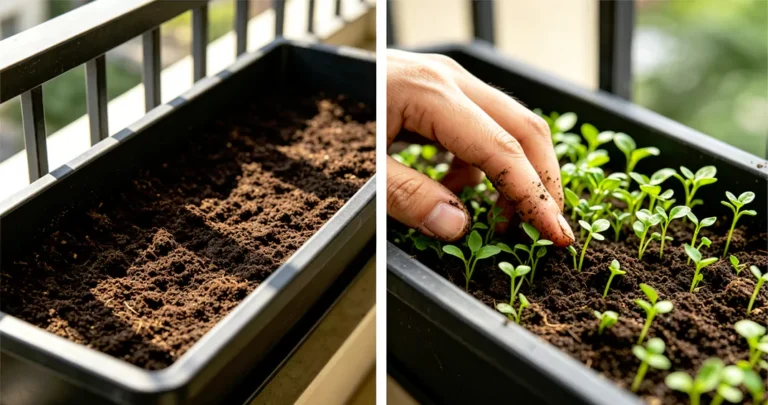
The ultimate all-purpose DIY organic soil recipe for container vegetables is the Classic 1-1-1 Blend. It consists of 1 part peat moss or coco coir (for moisture retention), 1 part coarse perlite or vermiculite (for permanent root aeration), and 1 part high-quality organic compost or worm castings (for biological fertility). This creates an ultra-lightweight, perfectly draining medium that prevents container root rot completely.
Before mixing your ingredients, you must understand why container soil behaves differently than ground-level backyard dirt. Every successful DIY blend relies on three essential physical parameters:
When water is poured into a restricted pot, gravity pulls it downward, creating a “perched water table” at the base. If your soil mix lacks large structural spaces, it will pack down tight like concrete, drowning delicate feeder roots. Adding perlite or coarse sand creates permanent air pockets so roots can breathe.
Because containers are exposed to elevated wind and heat, they lose water rapidly. Your mix needs an ingredient with a high Cation Exchange Capacity (CEC)—like coco coir or peat moss—which acts like a microscopic sponge, holding onto water and liquid nutrients without becoming waterlogged.
Sterile, bag-mixed peat and perlite contain zero plant food. To fuel heavy-fruiting crops like tomatoes and peppers, you must introduce a living organic component packed with beneficial microbes and slow-release macronutrients (Nitrogen, Phosphorus, and Potassium).
To plan your potting layouts efficiently using principles from our Advanced Geometric Spacing Layouts and Tier Design framework, use this targeted matrix to quickly choose the right recipe for your crops:
| Recipe Type | Best For (Crop Target) | Base Material | Aeration Material | Fertility / Booster | Key Advantage |
| 1. Classic 1-1-1 Blend | Bush Beans & General Use | 1 Part Peat / Coir | 1 Part Perlite | 1 Part Organic Compost | Highly forgiving for beginners |
| 2. Heavy-Fruiting Blend | Tomatoes & Peppers | 1 Part Coco Coir | 1 Part Perlite / Pumice | 1 Part Worm Castings + Granular | Maximum mineral flush for heavy yields |
| 3. Ultra-Lightweight Mix | Vertical Tiers & Railings | 50% Peat Moss | 30% Vermiculite | 20% High-Quality Compost | Safely within structural weight limits |
| 4. Fast-Draining Root Mix | Carrots & Potatoes | 1 Part Peat / Coir | 1.5 Parts Coarse Sand | 0.5 Part Sifted Compost | Low resistance for straight roots |
| 5. Greens & Herb Trough | Window Boxes & Lettuce | 2 Parts Coco Coir | 1 Part Perlite | 1 Part Mushroom Compost | Holds uniform moisture, resists drying |
Protect your homemade organic soil blends from failing by steering clear of these structural mistakes:
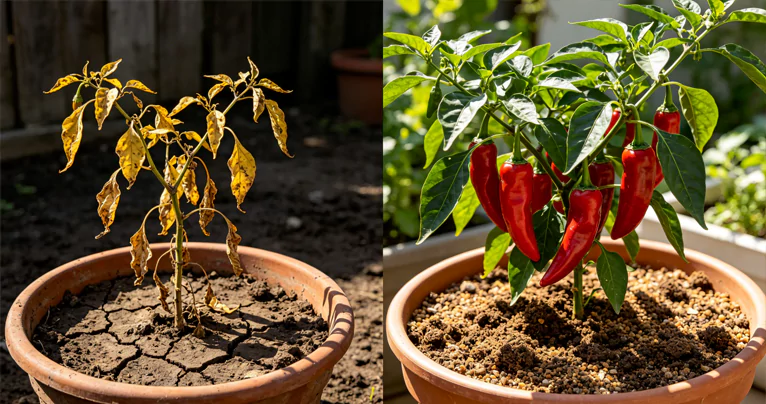
Sarah, a graphic designer with a sunny third-floor patio, wanted to grow her own snacking peppers but struggled with poor plant health.
No. Standard bags labeled “Topsoil” or “Garden Soil” are meant to be mixed into ground-level garden beds. They are far too heavy, dense, and clay-rich for containers. If used in a pot, topsoil will compact rapidly, trap stagnant water at the base, and cause root rot within weeks. Always use a dedicated “Potting Mix” or mix your own using a soil-less recipe.
Both serve as the moisture-retention base for DIY soil, but they have unique profiles. Peat moss is harvested from ancient bogs, has an acidic pH (around 3.5 to 4.5), and requires lime to balance it for vegetables. Coco coir is a sustainable byproduct of the coconut industry, holds water slightly better, has a near-neutral pH (6.0 to 6.8), and does not become hydrophobic when completely dried out.
If you are worried about introducing weed seeds or outdoor pests to an indoor or enclosed balcony space, you can pasteurize your organic compost. Spread it onto a baking sheet roughly 4 inches deep, cover it with aluminum foil, and bake it in an oven at 180°F (82°C) for 30 minutes. Let it cool completely before mixing it with your peat and perlite.
You do not need to discard your DIY organic soil every year. As long as your plants didn’t suffer from a major soil-borne fungal disease, you can reuse the mix for 3 to 4 seasons. At the start of every spring, empty the old soil into a large storage tub, fluff it up to break any root clumps, and revive it by mixing in 20% fresh organic compost and a scoop of slow-release fertilizer.
A white or yellowish crust on the surface of your potting soil is typically a buildup of salt minerals. This happens when tap water contains heavy minerals, or from synthetic fertilizer residues rising to the surface as water evaporates. To fix this, scrape off the top crust and flush the container thoroughly with pure rainwater or filtered water until it flows freely out of the bottom drainage holes.
Stop guessing and start mixing. Download our free container soil blueprint and engineer your small-space urban homestead like a seasoned expert.
Download our free resource today and receive:
[ Info@Yardveggie.com ]
👉 [ DOWNLOAD YOUR FREE CONTAINER SOIL KIT NOW ]
If you want to skip the frustrating trial-and-error cycle and discover the exact visual layouts used to maximize food production in tight urban footprints, take a look at our structured video series. Our comprehensive Balcony Harvest Masterclass offers an interactive, step-by-step roadmap built specifically for small-footprint living.
Bypass the guesswork with high-definition, practical tutorials covering: